Instructions
Below are some of the instructions and tools needed for our various products. If you don't see what you are looking for please shoot us an email or a call so we can get you squared away!
YOUTUBE CHANNEL
We try to put up all our tips and tricks on our youtube channel to help our customers learn about our parts.
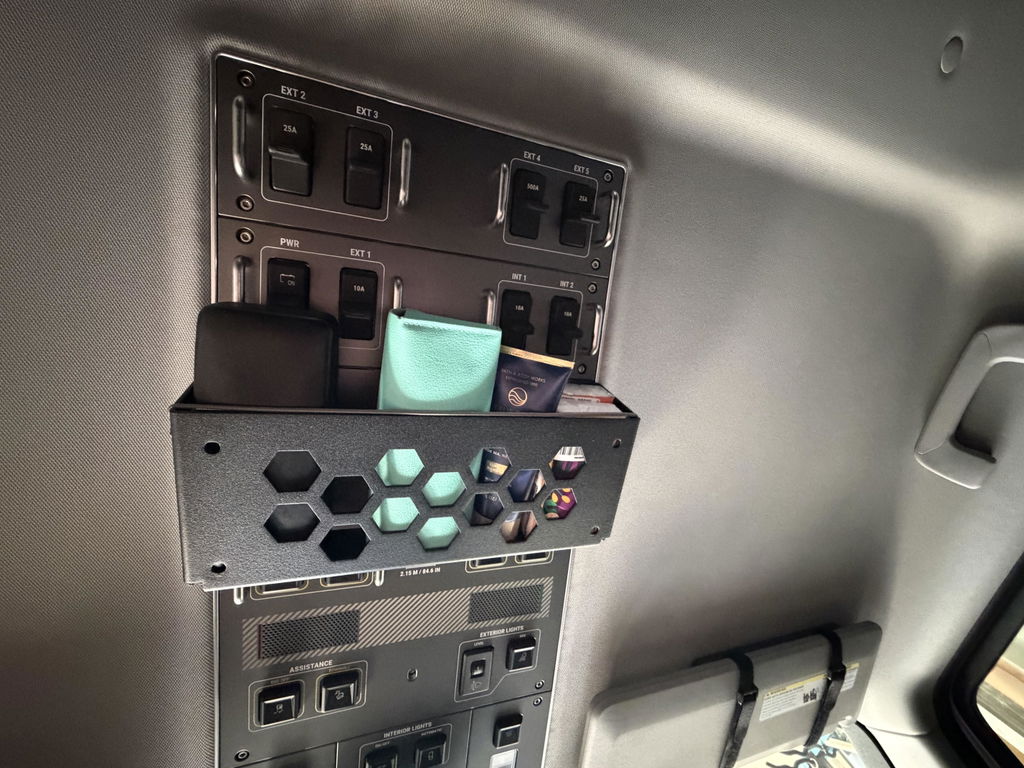
SPARE TIRE MOLLE PANEL
Tool: T40 Torx
Instructions: Use the torx driver to remove the 3 factory screws. Place the Molle Panel into the storage compartment and re-insert the screws. Tighten down until they are snug.
CARGO WALL TRACKS
Tools: T45 & T40 Torx
Instructions: Use the T45 torx driver to remove the 4 factory screws and factory D ring plates. Place a factory D ring plate into the pocket in each end of the front of the track. The provided longer screws will pass through the factory plate, then the Grenadier USA track, then the provided aluminum spacers and into the threaded hole in the vehicle wall. Be sure that the spacers are oriented to so that the indent lines up with the bend tab on the factory D ring plate so that everything stays aligned and can be tightened properly. Firmly tighten these screws using a T40 torx driver.
REAR HITCH COVER PLATE
Tools: 8mm Hex key
Instructions: The threads that secure the cover plate are M12x1.75. Check to see if the screws that we supplied thread into the factory hitch. We have had some customers note that they had paint buildup in those threads that required cleanup. you may be able to use a light oil or grease and work the M12 screws in and out a few times to clear the threads. In extreme cases you can purchase an M12x1.75 tap from amazon or our website. A cheap tap should be fine to clear the paint.